目前此方法已经失效,但是可以通过解锁的DNS来实现奈飞的解锁
解锁方法:进入VPS后输入
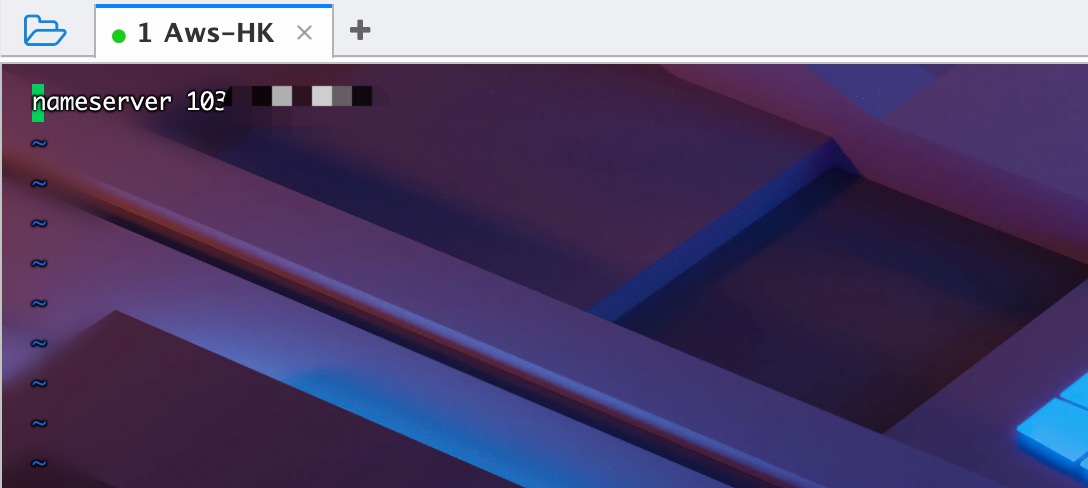
vi /etc/resolv.conf #修改 nameserver 后面的IP
按 i 进入修改模式,修改好了按esc 输入:wq! 回车保存返回界面
或者使用dnsmasq 解锁
apt-get install dnsmasq #debian10先安装dnsmasq 然后复制文本里面的内容到 etc/dnsmasq.conf 里面
custom_netflix.conf
重启dnsmasq
systemctl restart dnsmasq
systemctl enable dnsmasq
检查 /etc/resolv.conf清去内容,仅保留
nameserver 127.0.0.1
解锁多媒体脚本
bash <(curl -L -s https://raw.githubusercontent.com/lmc999/RegionRestrictionCheck/main/check.sh)
注:不保证长期解锁可用,无技术支持!
最近我也是看了波仔的教学视频,我也尝试搭建,没想到还真的成功了!所以我也自己把这个方法写在我自己的博客里,脚本代码都是波仔提供的,文章末尾我会贴出出处,也希望大家不要喷我,我只是个小白。
首先我们需要准备一个VPS,系统我们选用debian10的系统,其它系统我没有测试,有喜欢折腾的小伙伴也可以自己去测试
这里我选用的是一个我5块钱买的 Aws-HK的机器,刚开的时候给的IP是被墙了的,换了一个IP(脸黑),不过这个VPS测速下来,电信和移动非常友好,反而联通不行!好了废话不多说,开整!
先测试下机器奈飞解锁状况,看下机器是半解锁还是全解锁还是没解锁
wget -O nf https://github.com/sjlleo/netflix-verify/releases/download/2.01/nf_2.01_linux_amd64 && chmod +x nf && clear && ./nf

这个是我解锁后的截图,解锁前只有VIP4协议,没有VIP6。所以我这台机器原本是半解锁的!
测试玩了接下来我们就要安装X-ui一键脚本
X-ui功能非常多,也是非常强大的脚本,支持的协议:vmess、vless、trojan、shadowsocks、dokodemo-door、socks、http、支持多用户多协议,网页可视化操作、流量统计,限制流量,限制到期时间、
作者项目的 GitHub:网站跳转
接下来我们开始安装X-ui
1.申请证书,准好一个解析并且绑定了我们VPS的IP
更新及安装组件
1、 apt update -y          # Debian/Ubuntu 命令
2、 apt install -y curl    #Debian/Ubuntu 命令
3、 apt install -y socat    #Debian/Ubuntu 命令

1、 yum update -y          #CentOS 命令
2、 yum install -y curl    #CentOS 命令
3、 yum install -y socat    #CentOS 命令
安装 Acme 脚本
curl https://get.acme.sh | sh
80 端口空闲的证书申请方式
自行更换代码中的域名、邮箱为你解析的域名及邮箱
1、 ~/.acme.sh/acme.sh --register-account -m [email protected]  #写一个自己的邮箱
2、 ~/.acme.sh/acme.sh  --issue -d lovepore.com   --standalone #替换lovepore.com域名换成自己的VPS解析绑定的域名
安装证书到指定文件夹
自行更换代码中的域名为你解析的域名
~/.acme.sh/acme.sh --installcert -d lovepore.com --key-file /root/private.key --fullchain-file /root/cert.crt安装 & 升级 X-ui 面板
2.安装一键代码
bash <(curl -Ls https://raw.githubusercontent.com/sprov065/x-ui/master/install.sh)
安装好进入面板,复制你的 IP:54321 输入账号admin密码admin 创建一个节点
按照上图去添加一个节点,也可以添加Trojan,我们这里添加的是Vless这个轻量协议!
证书的路径,如果大家是按照我之前的步骤,路径肯定是一样的,也可以去VPS下复制,在root目录下!
公钥文件路径:/root/cert.crt
密钥文件路径:/root/private.key
节点添加后,大家就可以去测试下节点是否有效,观看下奈飞是否可以看自制剧和非自制剧!
3.第二步就是解锁奈飞的步骤了!
安装 WireGuard
添加 backports 源
1、 apt install curl lsb-release -y
2、 echo "deb http://deb.debian.org/debian $(lsb_release -sc)-backports main" | tee /etc/apt/sources.list.d/backports.list
3、 apt update
安装网络工具包
apt install net-tools iproute2 openresolv dnsutils -y安装 wireguard-tools
apt install wireguard-tools --no-install-recommends先执行 uname -r 命令查看内核版本。如果是 5.6 以上内核则已经集成了 WireGuard ,就不需要安装了。如果不是,执行下面的命令
1、 apt -t $(lsb_release -sc)-backports install linux-image-$(dpkg --print-architecture) linux-headers-$(dpkg --print-architecture) --install-recommends -y
2、 reboot     # 重启
重启后在输入命令检查版本
生成 WireGuard 配置文件
wgcf 是 Cloudflare WARP 的非官方 CLI 工具,它可以模拟 WARP 客户端注册账号,并生成通用的 WireGuard 配置文件。
1、 curl -fsSL git.io/wgcf.sh | bash    #  安装 wgcf
2、 wgcf register                       #  注册 WARP 账户 (生成 /root/wgcf-account.toml 文件保存账户信息)
3、 wgcf generate                       #  生成 /root/wgcf-profile.conf 配置文件
编辑 WireGuard 配置文件
编辑 /root/wgcf-profile.conf 文件,其中可以在服务器端解析 engage.cloudflareclient.com 的 ip
nslookup engage.cloudflareclient.com解析的结果为 162.159.192.1
将配置文件中的 engage.cloudflareclient.com 替换为 162.159.192.1 ,并删除 AllowedIPs = 0.0.0.0/0 。
即配置文件中 [Peer] 部分为:
测试 WireGuard 网络接口
将 WireGuard 配置文件复制到 /etc/wireguard/ 并命名为 wgcf.conf。
cp wgcf-profile.conf /etc/wireguard/wgcf.conf开启网络接口(命令中的 wgcf 对应的是配置文件 wgcf.conf 的文件名前缀)。
wg-quick up wgcf执行以下命令检查是否连通。同时也能看到正在使用的是 Cloudflare 的网络。
curl -6 ip.p3terx.com
测试完成后关闭相关接口,因为这样配置只是临时性的
wg-quick down wgcf启用 WireGuard 网络接口
1、 systemctl start wg-quick@wgcf   # 启用守护进程
2、 systemctl enable wg-quick@wgcf  # 设置开机启动
修改 X-ui 配置。在面板设置里的 xray 配置模版
以下的配置直接复制,删除xray里所有配置,粘贴
{
  "api": {
    "services": [
      "HandlerService",
      "LoggerService",
      "StatsService"
    ],
    "tag": "api"
  },
  "inbounds": [
    {
      "listen": "127.0.0.1",
      "port": 62789,
      "protocol": "dokodemo-door",
      "settings": {
        "address": "127.0.0.1"
      },
      "tag": "api"
    }
  ],
  "outbounds": [
      {
      "protocol": "freedom",
      "settings": {
         "domainStrategy": "UseIPv6"
       },
      "tag": "IP-V6"
    },
    {
      "protocol": "blackhole",
      "settings": {},
      "tag": "blocked"
    }
  ],
  "policy": {
    "system": {
      "statsInboundDownlink": true,
      "statsInboundUplink": true
    }
  },
  "routing": {
    "rules": [
      {
        "type":"field",
        "domain": [
          "geosite:netflix"
        ],
        "inboundTag":  [
          "all-in"
         ],
        "outboundTag": "IP-V6"
      },
      {
        "inboundTag": [
          "api"
        ],
        "outboundTag": "api",
        "type": "field"
      },
      {
        "ip": [
          "geoip:private"
        ],
        "outboundTag": "blocked",
        "type": "field"
      },
      {
        "outboundTag": "blocked",
        "protocol": [
          "bittorrent"
        ],
        "type": "field"
      }
    ]
  },
  "stats": {}
}
后记:文章里的脚本代码均来自波仔博主,我只是一个小白,也喜欢折腾,视频后期我会发不出来然后贴在本文章的开头!感谢大家观看
emby破解
/bin/bash -c "$(curl -fsSL https://gitlab.com/iptv-org/embypublic/-/raw/master/Script/EmbyPremiere.sh)"